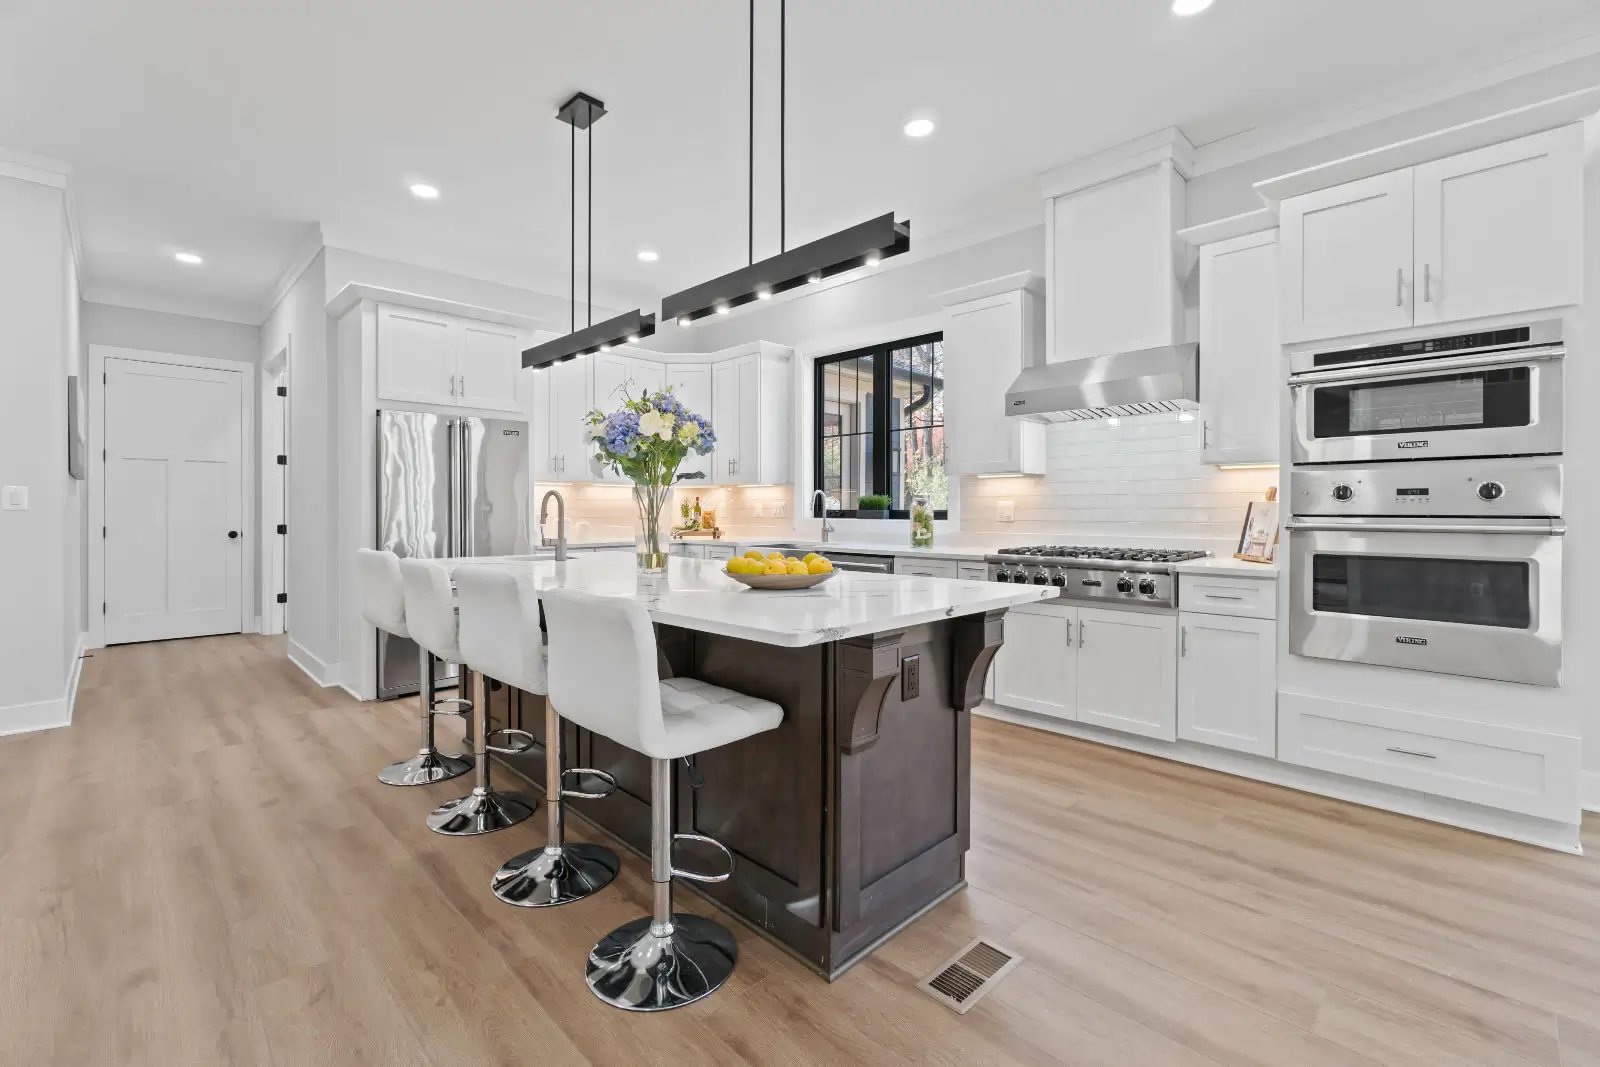
Kitchen cabinets represent a major investment and the success of your entire remodel depends on proper installation. Here's what you need to know about the cabinet installation process.
Pre-Installation Preparation
Kitchen Demolition
Before new cabinets arrive:- Remove existing cabinets carefully
- Inspect and repair walls
- Address any water damage or mold
- Update electrical and plumbing as needed
- Repair drywall damage
- Ensure walls are plumb and level
- Reinforce walls where needed
- Mark stud locations
- Wall dimensions
- Floor level
- Ceiling height
- Window and door locations
- Utility positions
- Less expensive
- Faster availability
- May require fillers for fit
- Limited customization
- More size options
- Additional features available
- Moderate lead times
- Better fit than stock
- Perfect fit
- Unlimited options
- Longer lead times
- Highest investment
- Establish level reference lines
- Mark cabinet positions
- Plan for appliance locations
- Coordinate with countertop installer
- Ledger board support during installation
- Level and plumb each cabinet
- Secure to studs
- Scribe to walls if needed
- Start from corner or high point
- Level front to back and side to side
- Shim as needed
- Secure together and to wall
- Filler strips where needed
- Crown molding and trim
- Toe kicks
- Hardware installation
- Shim base cabinets to level
- Adjust for variations
- Ensure countertop will sit flat
- Scribe cabinet faces to walls
- Use fillers strategically
- Plan for corner complications
- Coordinate with plumber for sink cabinet
- Electrical for under-cabinet lights
- Ventilation for range hood
- Doors align perfectly
- Drawers operate smoothly
- No visible gaps at walls
- Hardware straight and level
- All adjustments properly made
- Uneven door heights
- Gaps between cabinets
- Visible shims or fillers
- Drawers that stick
- Crooked hardware
- Simple layout
- Stock cabinets
- Previous experience
- Time available
- Complex layouts
- Custom cabinets
- Tight timeline
- Limited experience
- High-value materials